Every tool in view
Follow up to twelve tools with their temperatures and targets. Material, colour and filament information appear when your printer supplies them.

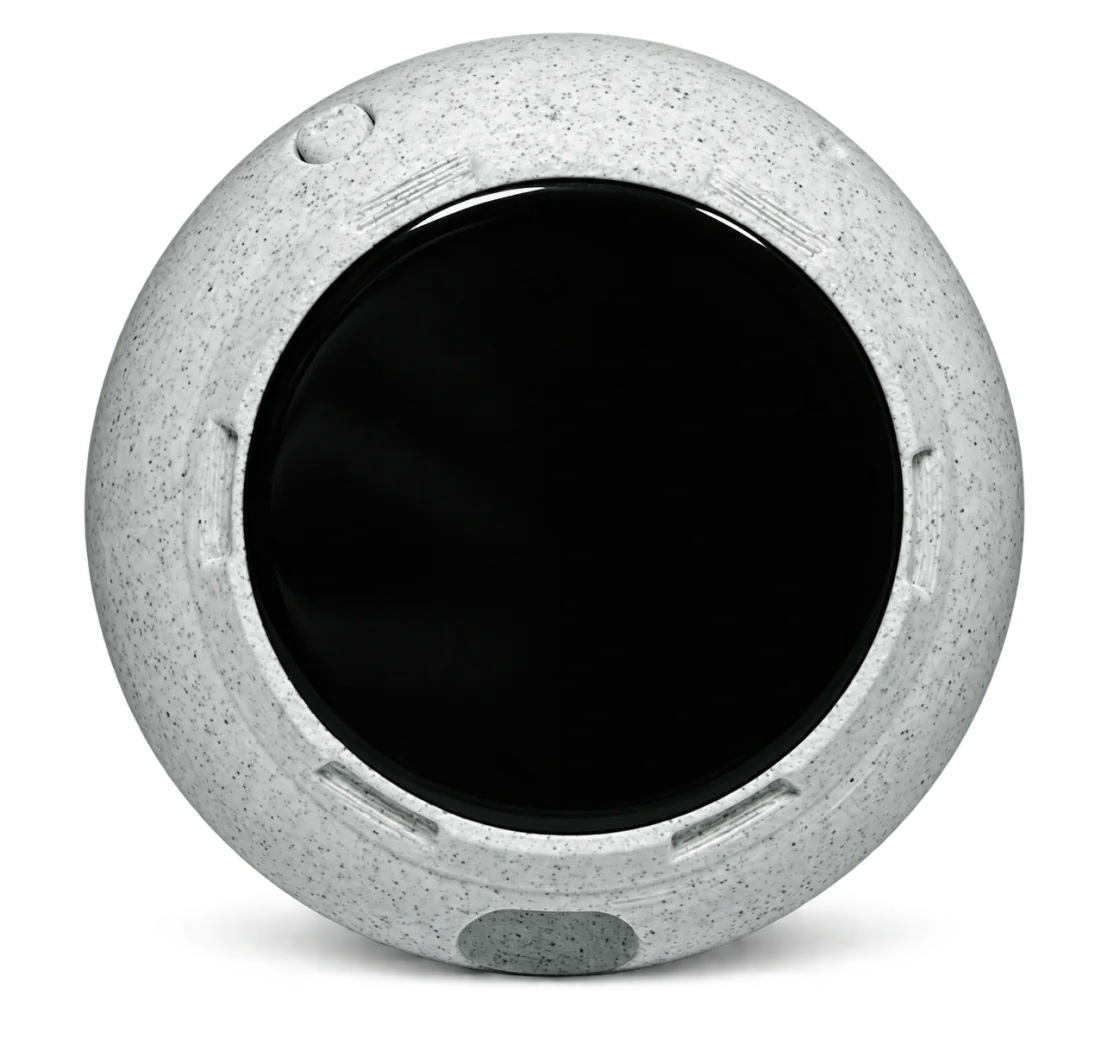
Keep the information you check most within sight. PrintDeck reads your Klipper printer through Moonraker and brings progress, tool temperatures and print details to a display you can place around your workspace.
 KlipperLocal Wi-Fi
Klipper → Moonraker → local Wi-Fi → PrintDeck
Follow up to twelve tools with their temperatures and targets. Material, colour and filament information appear when your printer supplies them.
See job progress, time estimates and temperatures, plus print thumbnails and motion or fan details when Moonraker provides them.
You need a working Klipper and Moonraker setup, the Moonraker address and port, and an API key if your server requires one. PrintDeck must be able to reach that address on your local network.
Open your usual printer interface and confirm the printer is connected. Use Moonraker’s address and API port, commonly 7125, rather than a cloud dashboard address.
In Web Config, open My Printers → Add printer → Other printers. Enter the address and choose Klipper / Moonraker under Connection type. Add the API key if required.
Review the detected printer, give it a name and choose Check & add. Select the online profile to open its dashboard.

ELEGOO Neptune 4 series connects through Klipper and Moonraker. Follow the steps above to bring progress and temperatures to PrintDeck.
For Centauri Carbon or Carbon 2, choose the matching model in Web Config → My Printers → Add printer → Other printers. Carbon 2 also uses the LAN access code shown by the printer.
ELEGOO Neptune 4PrintDeck connects to Moonraker, the local service used by interfaces such as Mainsail and Fluidd. You can continue using your usual interface alongside PrintDeck.
No. Tool, filament and motion details depend on your configuration. Thumbnails must be available in Moonraker’s file metadata.