
Finished print
Turn on a lamp, send a phone notification or announce that the part is ready.

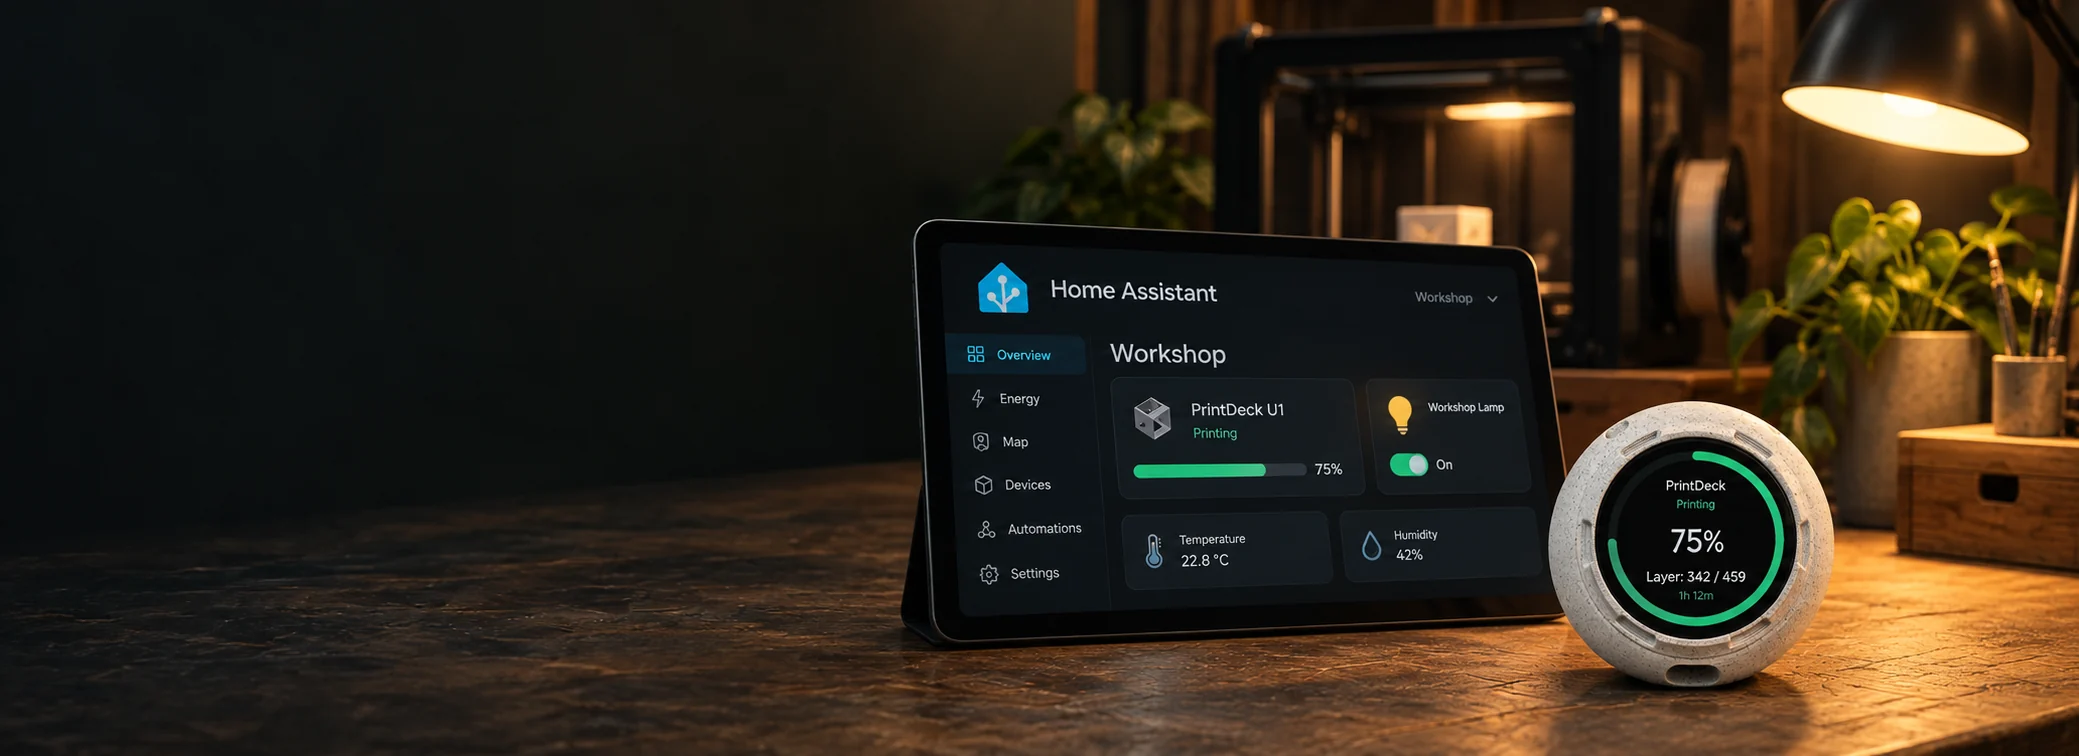
Home Assistant can poll PrintDeck on your local network, turn its normalized printer data into entities, and react whenever a print changes state.
The PrintDeck integration discovers compatible devices, asks for the Unified API token in the Home Assistant interface and creates the available printer entities automatically.
Turn on a lamp, send a phone notification or announce that the part is ready.
React when progress crosses 25%, 50% or 75% to change an indicator light or update a dashboard.
React to paused, failed or cancelled jobs before returning to the workshop.
Show connection, temperatures, remaining time and the current layer on one local dashboard.
HACS installs the maintained PrintDeck integration. After that, everything happens in the normal Home Assistant interface: discovery, token entry, devices, sensors and automations.
Same local networkHome Assistant and PrintDeck must be able to reach each other.
Current PrintDeck firmwareUpdate the monitor before connecting the integration.
HACS installedIf you do not have HACS yet, install it first using the official guide.
Open PrintDeck Web Config, choose Settings > Unified Printer API, enable it and copy the generated token. Keep it private; you will paste the raw token into Home Assistant without adding the word Bearer.
Use the button below. It opens the PrintDeck custom repository directly in HACS. If the button cannot reach your Home Assistant, use the manual path shown underneath.
Open HACS > Integrations > three-dot menu > Custom repositories. Paste https://github.com/PrintDeck/home-assistant, choose Integration as the type, then select Add.
Read the official HACS custom repository guideIn HACS, select PrintDeck, choose Download and install the newest version. Restart Home Assistant when HACS asks. Refreshing the browser is not a restart.
Open Settings > Devices & services > Add integration and search for PrintDeck. Choose a discovered monitor, or enter printdeck.local or its local IP address. Paste the raw Unified API token and submit.
Home Assistant shows the PrintDeck monitor and every configured printer. Rename them or assign areas if useful, then choose Finish. Use Add hub only when you have another physical PrintDeck monitor.
Open the PrintDeck integration. You should see one hub and a device for every printer. Each printer exposes progress, phase, activity, temperatures, layers, time, connection data, network address and network port when available.
Add a printer in PrintDeck and Home Assistant creates its device and entities after the next polling cycle. Remove a printer and integration version 0.1.2 or newer removes its Home Assistant device and entities after the next complete refresh. A temporary connection problem never triggers cleanup. Deleting a printer intentionally breaks automations that reference its entities; edit the saved printer instead if only its address changed.
This example uses the visual automation editor. It works with any percentage, including 82% or 88%.
Choose Numeric state, select the printer's Print progress entity and set Above to 74.9.
Choose State, select the same printer's Print phase entity and set the state to Printing.
Choose Light: Turn on and select one light. Use Turn on rather than Toggle so the result is predictable.
Give the automation a name and save it. Run actions tests only the light; a short print tests the trigger and condition.
Home Assistant's Above test is strict. A threshold of 74.9 triggers when the sensor first reports 75 or any higher value. The Printing condition prevents an old stored progress value from turning on the light while the printer is idle.
Import a blueprint, then choose the printer sensor and light from dropdowns in Home Assistant.
Confirm that HACS downloaded it, restart Home Assistant and refresh the browser after the restart.
Update the PrintDeck monitor, then try the connection again. This message means the monitor does not yet advertise native integration support.
Keep Home Assistant and PrintDeck on the same local network. If printdeck.local does not resolve, enter the local IP shown by PrintDeck.
Copy a fresh token from PrintDeck Web Config and paste it exactly. Do not add Bearer in the native integration form.
Select that printer on PrintDeck so it has a full live connection. Some inactive printers expose only summary data.
Open the automation and choose Traces. The trace shows whether the progress trigger fired and whether the Printing condition passed.
The native integration above is recommended. Open this advanced fallback only when HACS cannot be used or you deliberately want to maintain the REST sensors yourself.
Open Web Config on PrintDeck, choose Unified Printer API, enable it and copy the generated access token.
Request the printer list and note the ID of the printer you want to watch.
curl http://PRINTDECK-IP/v1/printers \
-H 'Authorization: Bearer pd_your_token_here'Include the word Bearer in the secret value.
printdeck_api_bearer: "Bearer pd_your_token_here"This makes one request every 10 seconds. Change PRINTDECK-IP and printer ID 1 in the URL.
rest:
  - resource: "http://PRINTDECK-IP/v1/printers/1/status"
    method: GET
    headers:
      Authorization: !secret printdeck_api_bearer
    scan_interval: 10
    timeout: 5
    sensor:
      - name: "PrintDeck Phase"
        unique_id: printdeck_printer_1_phase
value_template: "{{ value_json.status.job.phase }}"Validate the YAML in Developer Tools, restart Home Assistant, then confirm that the PrintDeck Phase entity has a value.
Replace light.living_room with the entity ID of your lamp.
- alias: "PrintDeck - light on when print completes"
  id: printdeck_light_on_when_print_completes
  triggers:
    - trigger: state
      entity_id: sensor.printdeck_phase
      to: "completed"
  conditions:
    - condition: template
      value_template: >-
        {{ trigger.from_state is not none and
           trigger.from_state.state in ['preparing', 'printing', 'paused'] }}
  actions:
    - action: light.turn_on
      target:
        entity_id: light.living_room
mode: singleWatch the phase entity move to completed. If the lamp does not switch on, open the automation trace to see the trigger and condition results.
Job phase is best for most automations. Job activity exposes the detailed activities that drive PrintDeck reactions when the printer reports them.
Every supported job phase value:
unknownidlepreparingprintingpausedcompletedfailedcancelledEvery supported job activity value:
unknownstandbypreparingnozzle_heatingbed_heatinghomingbed_levelingnozzle_cleaningcalibratingfilament_changingfilament_unloadingfilament_loadingfilament_purgingprintingpausedcompletedfailedcancelledYou do not need one entity per value. The PrintDeck Activity sensor below moves between every listed activity, and an automation can react to the value you choose.
connection.statestopped waiting_for_network connecting online offlineconnection.reachabilityunknown online offlineconnection.detail_levelsummary fulljob.kindprint calibrationDetailed activity availability depends on what the connected printer reports. The API value unknown uses PrintDeck's unavailable reaction as its fallback. A selected printer provides full live data; other saved printers may provide summary data at the configured Printer List Refresh interval.
The native integration creates these entities automatically. This YAML pack is kept for advanced manual REST installations.
rest:
  - resource: "http://PRINTDECK-IP/v1/printers/1/status"
    method: GET
    headers:
      Authorization: !secret printdeck_api_bearer
    scan_interval: 10
    timeout: 5
    sensor:
      - name: "PrintDeck Printer ID"
        unique_id: printdeck_printer_1_id
        value_template: "{{ value_json.status.printer_id }}"

      - name: "PrintDeck Connection"
        unique_id: printdeck_printer_1_connection
        value_template: "{{ value_json.status.connection.state }}"

      - name: "PrintDeck Reachability"
        unique_id: printdeck_printer_1_reachability
        value_template: "{{ value_json.status.connection.reachability }}"

      - name: "PrintDeck Detail Level"
        unique_id: printdeck_printer_1_detail_level
        value_template: "{{ value_json.status.connection.detail_level }}"

      - name: "PrintDeck Update Marker"
        unique_id: printdeck_printer_1_updated_at_ms
        value_template: "{{ value_json.status.connection.updated_at_ms }}"
        unit_of_measurement: "ms"

      - name: "PrintDeck Phase"
        unique_id: printdeck_printer_1_phase
        value_template: "{{ value_json.status.job.phase }}"

      - name: "PrintDeck Job Kind"
        unique_id: printdeck_printer_1_job_kind
        value_template: "{{ value_json.status.job.kind }}"

      - name: "PrintDeck Activity"
        unique_id: printdeck_printer_1_activity
        value_template: "{{ value_json.status.job.activity }}"

      - name: "PrintDeck Job Name"
        unique_id: printdeck_printer_1_job_name
        value_template: "{{ value_json.status.job.name | default('none', true) }}"

      - name: "PrintDeck Progress"
        unique_id: printdeck_printer_1_progress
        value_template: "{{ value_json.status.job.progress_percent }}"
        availability: >-
          {{ value_json.status.connection.detail_level == 'full' and
             not value_json.status.connection.stale }}
        unit_of_measurement: "%"

      - name: "PrintDeck Elapsed"
        unique_id: printdeck_printer_1_elapsed
        value_template: "{{ value_json.status.job.elapsed_seconds }}"
        availability: >-
          {{ value_json.status.connection.detail_level == 'full' and
             not value_json.status.connection.stale }}
        device_class: duration
        unit_of_measurement: "s"

      - name: "PrintDeck Remaining"
        unique_id: printdeck_printer_1_remaining
        value_template: "{{ value_json.status.job.remaining_seconds }}"
        availability: "{{ not value_json.status.connection.stale }}"
        device_class: duration
        unit_of_measurement: "s"

      - name: "PrintDeck Current Layer"
        unique_id: printdeck_printer_1_current_layer
        value_template: "{{ value_json.status.job.current_layer }}"
        availability: >-
          {{ value_json.status.connection.detail_level == 'full' and
             not value_json.status.connection.stale }}

      - name: "PrintDeck Total Layers"
        unique_id: printdeck_printer_1_total_layers
        value_template: "{{ value_json.status.job.total_layers }}"
        availability: >-
          {{ value_json.status.connection.detail_level == 'full' and
             not value_json.status.connection.stale }}

      - name: "PrintDeck Nozzle Temperature"
        unique_id: printdeck_printer_1_nozzle_temperature
        value_template: "{{ value_json.status.temperatures.nozzle_current_c }}"
        availability: >-
          {{ value_json.status.temperatures.nozzle_current_c is not none and
             not value_json.status.connection.stale }}
        device_class: temperature
        state_class: measurement
        unit_of_measurement: "°C"

      - name: "PrintDeck Nozzle Target"
        unique_id: printdeck_printer_1_nozzle_target
        value_template: "{{ value_json.status.temperatures.nozzle_target_c }}"
        availability: >-
          {{ value_json.status.temperatures.nozzle_target_c is not none and
             not value_json.status.connection.stale }}
        device_class: temperature
        unit_of_measurement: "°C"

      - name: "PrintDeck Bed Temperature"
        unique_id: printdeck_printer_1_bed_temperature
        value_template: "{{ value_json.status.temperatures.bed_current_c }}"
        availability: >-
          {{ value_json.status.temperatures.bed_current_c is not none and
             not value_json.status.connection.stale }}
        device_class: temperature
        state_class: measurement
        unit_of_measurement: "°C"

      - name: "PrintDeck Bed Target"
        unique_id: printdeck_printer_1_bed_target
        value_template: "{{ value_json.status.temperatures.bed_target_c }}"
        availability: >-
          {{ value_json.status.temperatures.bed_target_c is not none and
             not value_json.status.connection.stale }}
        device_class: temperature
        unit_of_measurement: "°C"

      - name: "PrintDeck Chamber Temperature"
        unique_id: printdeck_printer_1_chamber_temperature
        value_template: "{{ value_json.status.temperatures.chamber_current_c }}"
        availability: >-
          {{ value_json.status.temperatures.chamber_current_c is not none and
             not value_json.status.connection.stale }}
        device_class: temperature
        state_class: measurement
        unit_of_measurement: "°C"

    binary_sensor:
      - name: "PrintDeck Data Stale"
        unique_id: printdeck_printer_1_data_stale
        value_template: "{{ value_json.status.connection.stale }}"
        device_class: problem

      - name: "PrintDeck Online"
        unique_id: printdeck_printer_1_online
        value_template: "{{ value_json.status.connection.state == 'online' }}"
device_class: connectivityKeep the matching token in secrets.yaml, replace PRINTDECK-IP and printer ID 1. If configuration.yaml already has a top-level rest section, add this resource below it instead of creating a second rest key.
Home Assistant polls PrintDeck; PrintDeck does not send webhooks. Keep both devices on a trusted local network and do not expose the API port to the internet. The integration stores its token in the Home Assistant config entry; manual REST setups should keep it in secrets.yaml.
Progress, temperatures and reaction-level activities are fullest for the printer currently selected on PrintDeck. Connection and summary job state remain useful for other saved printers.
Return to the Unified Printer APIPrintDeck sends normalized printer data to a local broker such as Mosquitto. Your apps subscribe to updates instead of repeatedly requesting them through the REST API. HTTP and MQTT can run independently or together.
Receive job state, progress, temperatures and availability in your dashboards or Node-RED flows.
React to observed print starts, progress milestones and attention events. Live events are not retained or replayed after reconnecting.
Let Home Assistant create devices and entities automatically through its built-in MQTT integration. Or choose PrintDeck through HACS with MQTT and keep standard Discovery off.